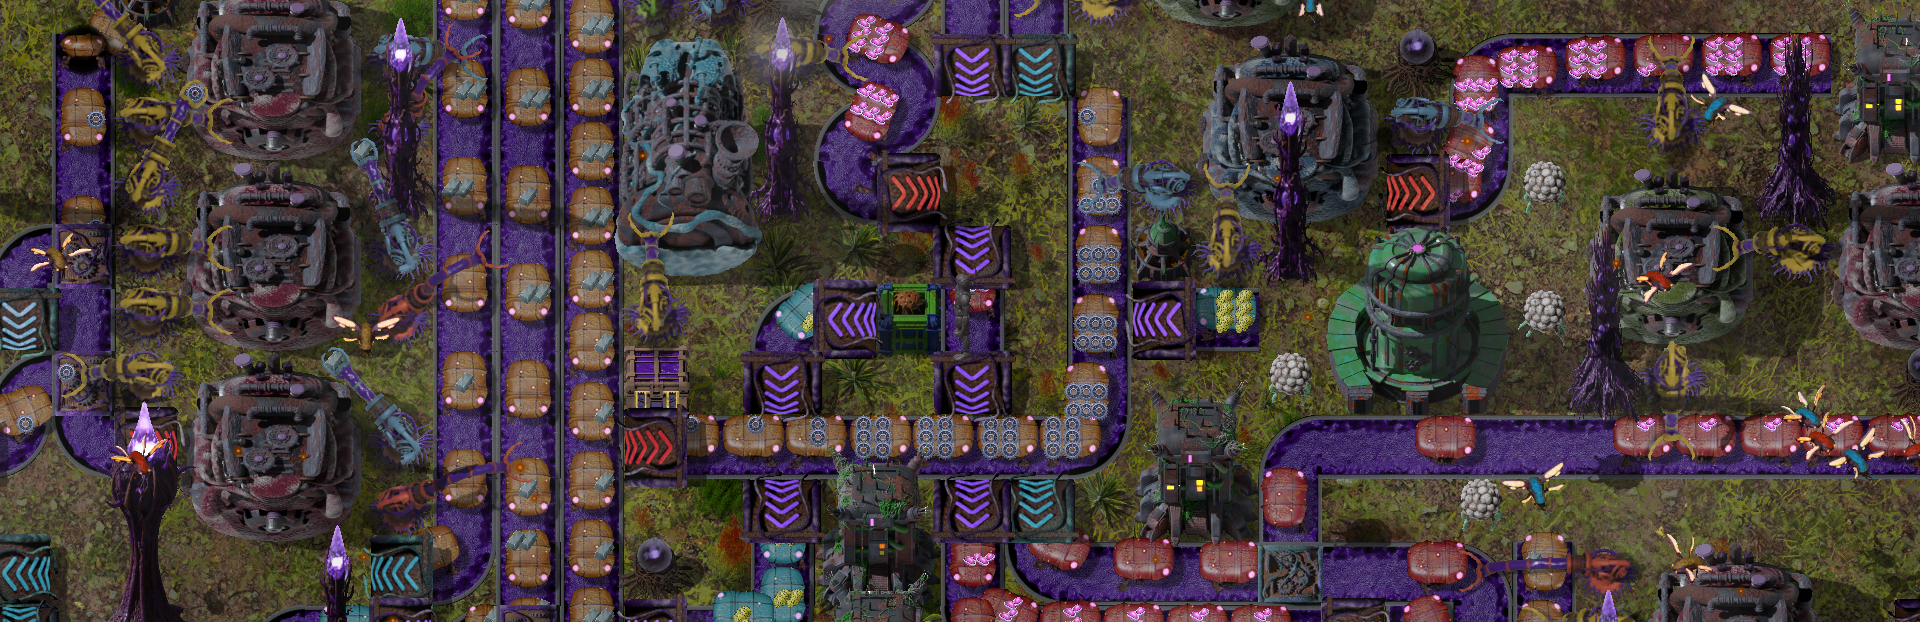
Hey everyone, last time we talked a bit about the energy system and fireflies in Swarmdustry.
Full notes
Full Swarmdustry update
Read the full published notes in a cleaner layout. The original post stays linked below.
Repeated intro
Hey everyone, last time we talked a bit about the energy system and fireflies in Swarmdustry. We briefly touched upon the job system, so I want to go deeper into detail about this because the job system is what brings life to the factory. It's what drives the workers.
What changed
0 fixes1 addition3 changes2 removals
Maps
Gameplay
UI and audio
Balance
changedLet's start with the most simple job: Mining. This is going to be the first job that most players are going to be dealing with. Basically, it involves placing down a Depot and some Miners . Miners are these ground bugs that can burrow, resurface, walk, mine ore, and deposit ore at depots. Each depot has a maximum buffer of miners allowed to work at it. For example, the lowest level depot allows only 2 miners to work. In the simplest scenario, a player places down a depot next to some iron deposit and 2 miners. No matter where on the map you place the miners, they will then burrow and after a bit, resurface at the input location of the depot. They will then start walking back and forth between the depot and the iron deposit, mining iron ore and, well, depositing it inside the depot.
addedIn that scenario, we had Auto Worker Distribution enabled. That toggle makes it so that workers get assigned to the closest eligible buffer on the map. This works nicely for beginner and small factories, but not so well for bigger ones.
removedBefore I answer that question, I should explain trail buffers. Just like depots, a trail buffer can hold up to 8 movers in its buffer. So a newly placed mover will burrow and resurface at the input of the buffer, which in this case is the center of the trail, if there's no mover on top of it already. Once resurfaced, the mover is then removed from the buffer, and it will follow the trail path until it can no longer move. If it carries at least one item on its back, it will just wait there. But if not, it will burrow and resurface again at a trail buffer. Basically this allows trail buffers to hold some movers in reserve, while being able to supply as many movers as needed to fill up the path.
changedSo with a complex factory and so many job specialties, simply placing down bugs on the world map and just hope they get assigned to your intended worker buffer won't work. Enter the Worker Bay .
removedWorker bays come in 2 flavors: small and big. Each has a different coverage area depending on your needs. Any worker buffer covered by a bay will only receive workers based on the bay's configuration. In the worker bay's UI, you can specify up to 3 types of workers, including their level. On default, lowest settings, you can put anywhere between 1-50 workers per slot, totaling 150 slots. Now next time you place a worker, if you disabled auto distribution, it will get assigned to the closest worker bay that accepts that kind of worker and work (or idle) at buffers under that bay there forever . This is very helpful to control flow of workers in your hive.
changedAnd this is how the worker bay UI looks like, at least for now. You can specify the capacity for fine grain control (you can increase max capacity through genetic codes)
Swarmdustry changes
changedLet's start with the most simple job: Mining. This is going to be the first job that most players are going to be dealing with. Basically, it involves placing down a Depot and some Miners . Miners are these ground bugs that can burrow, resurface, walk, mine ore, and deposit ore at depots. Each depot has a maximum buffer of miners allowed to work at it. For example, the lowest level depot allows only 2 miners to work. In the simplest scenario, a player places down a depot next to some iron deposit and 2 miners. No matter where on the map you place the miners, they will then burrow and after a bit, resurface at the input location of the depot. They will then start walking back and forth between the depot and the iron deposit, mining iron ore and, well, depositing it inside the depot.
addedIn that scenario, we had Auto Worker Distribution enabled. That toggle makes it so that workers get assigned to the closest eligible buffer on the map. This works nicely for beginner and small factories, but not so well for bigger ones.
removedBefore I answer that question, I should explain trail buffers. Just like depots, a trail buffer can hold up to 8 movers in its buffer. So a newly placed mover will burrow and resurface at the input of the buffer, which in this case is the center of the trail, if there's no mover on top of it already. Once resurfaced, the mover is then removed from the buffer, and it will follow the trail path until it can no longer move. If it carries at least one item on its back, it will just wait there. But if not, it will burrow and resurface again at a trail buffer. Basically this allows trail buffers to hold some movers in reserve, while being able to supply as many movers as needed to fill up the path.
changedSo with a complex factory and so many job specialties, simply placing down bugs on the world map and just hope they get assigned to your intended worker buffer won't work. Enter the Worker Bay .
removedWorker bays come in 2 flavors: small and big. Each has a different coverage area depending on your needs. Any worker buffer covered by a bay will only receive workers based on the bay's configuration. In the worker bay's UI, you can specify up to 3 types of workers, including their level. On default, lowest settings, you can put anywhere between 1-50 workers per slot, totaling 150 slots. Now next time you place a worker, if you disabled auto distribution, it will get assigned to the closest worker bay that accepts that kind of worker and work (or idle) at buffers under that bay there forever . This is very helpful to control flow of workers in your hive.
Let's start with the most simple job: Mining. This is going to be the first job that most players are going to be dealing with. Basically, it involves placing down a Depot and some Miners. Miners are these ground bugs that can burrow, resurface, walk, mine ore, and deposit ore at depots. Each depot has a maximum buffer of miners allowed to work at it. For example, the lowest level depot allows only 2 miners to work. In the simplest scenario, a player places down a depot next to some iron deposit and 2 miners. No matter where on the map you place the miners, they will then burrow and after a bit, resurface at the input location of the depot. They will then start walking back and forth between the depot and the iron deposit, mining iron ore and, well, depositing it inside the depot.
In that scenario, we had Auto Worker Distribution enabled. That toggle makes it so that workers get assigned to the closest eligible buffer on the map. This works nicely for beginner and small factories, but not so well for bigger ones.
Imagine another scenario where you have a bigger factory with, let's say, 100 movers (ground bugs that carry items on their back) and 10 trail buffers resulting in 10 contiguous trail segments (the trail is the path that movers follow, like the belts from Factorio), each segment being say 100 tiles long. So you'd need 1000 movers to fully fill your paths. But you don't have enough! How do you prioritize which segment should get filled first with any available idle movers? Maybe you wanna prioritize delivering coal to your power producers to keep your factory power up instead of some finished product deeper in the production line. Or maybe you don't want to disturb your current setup and have workers start working on a section of the factory that you're not yet ready to 'enable'.
Before I answer that question, I should explain trail buffers. Just like depots, a trail buffer can hold up to 8 movers in its buffer. So a newly placed mover will burrow and resurface at the input of the buffer, which in this case is the center of the trail, if there's no mover on top of it already. Once resurfaced, the mover is then removed from the buffer, and it will follow the trail path until it can no longer move. If it carries at least one item on its back, it will just wait there. But if not, it will burrow and resurface again at a trail buffer. Basically this allows trail buffers to hold some movers in reserve, while being able to supply as many movers as needed to fill up the path.
By now you should notice a pattern forming: You have some Worker Bug Entity that can be assigned to some Worker Buffer Entity.
Depot -> Miner
Trail buffer -> Mover
Energy producers or accumulators -> Firefly
Accumulators -> Acfly
Construction bay -> Drone
Bloodrose -> Bloodfly
I'll cover the remaining in another dev blog.
So with a complex factory and so many job specialties, simply placing down bugs on the world map and just hope they get assigned to your intended worker buffer won't work. Enter the Worker Bay.
Worker bays come in 2 flavors: small and big. Each has a different coverage area depending on your needs. Any worker buffer covered by a bay will only receive workers based on the bay's configuration. In the worker bay's UI, you can specify up to 3 types of workers, including their level. On default, lowest settings, you can put anywhere between 1-50 workers per slot, totaling 150 slots. Now next time you place a worker, if you disabled auto distribution, it will get assigned to the closest worker bay that accepts that kind of worker and work (or idle) at buffers under that bay there forever. This is very helpful to control flow of workers in your hive.
Fireflies, movers and miners idling because auto worker distribution is off and the bays are not configured yet. Inputs are the yellow arrows.
After making the top left small worker bay accept movers and the big worker bay accept miners and fireflies. All the movers went to work on the swarm top left swarm trail, leaving the one on the right empty.
And this is how the worker bay UI looks like, at least for now. You can specify the capacity for fine grain control (you can increase max capacity through genetic codes)
Hope you guys enjoyed this dev blog. Happy gaming everyone!