Full notes
Full Regions of Ruin: Runegate update
Read the full published notes in a cleaner layout. The original post stays linked below.
Repeated intro
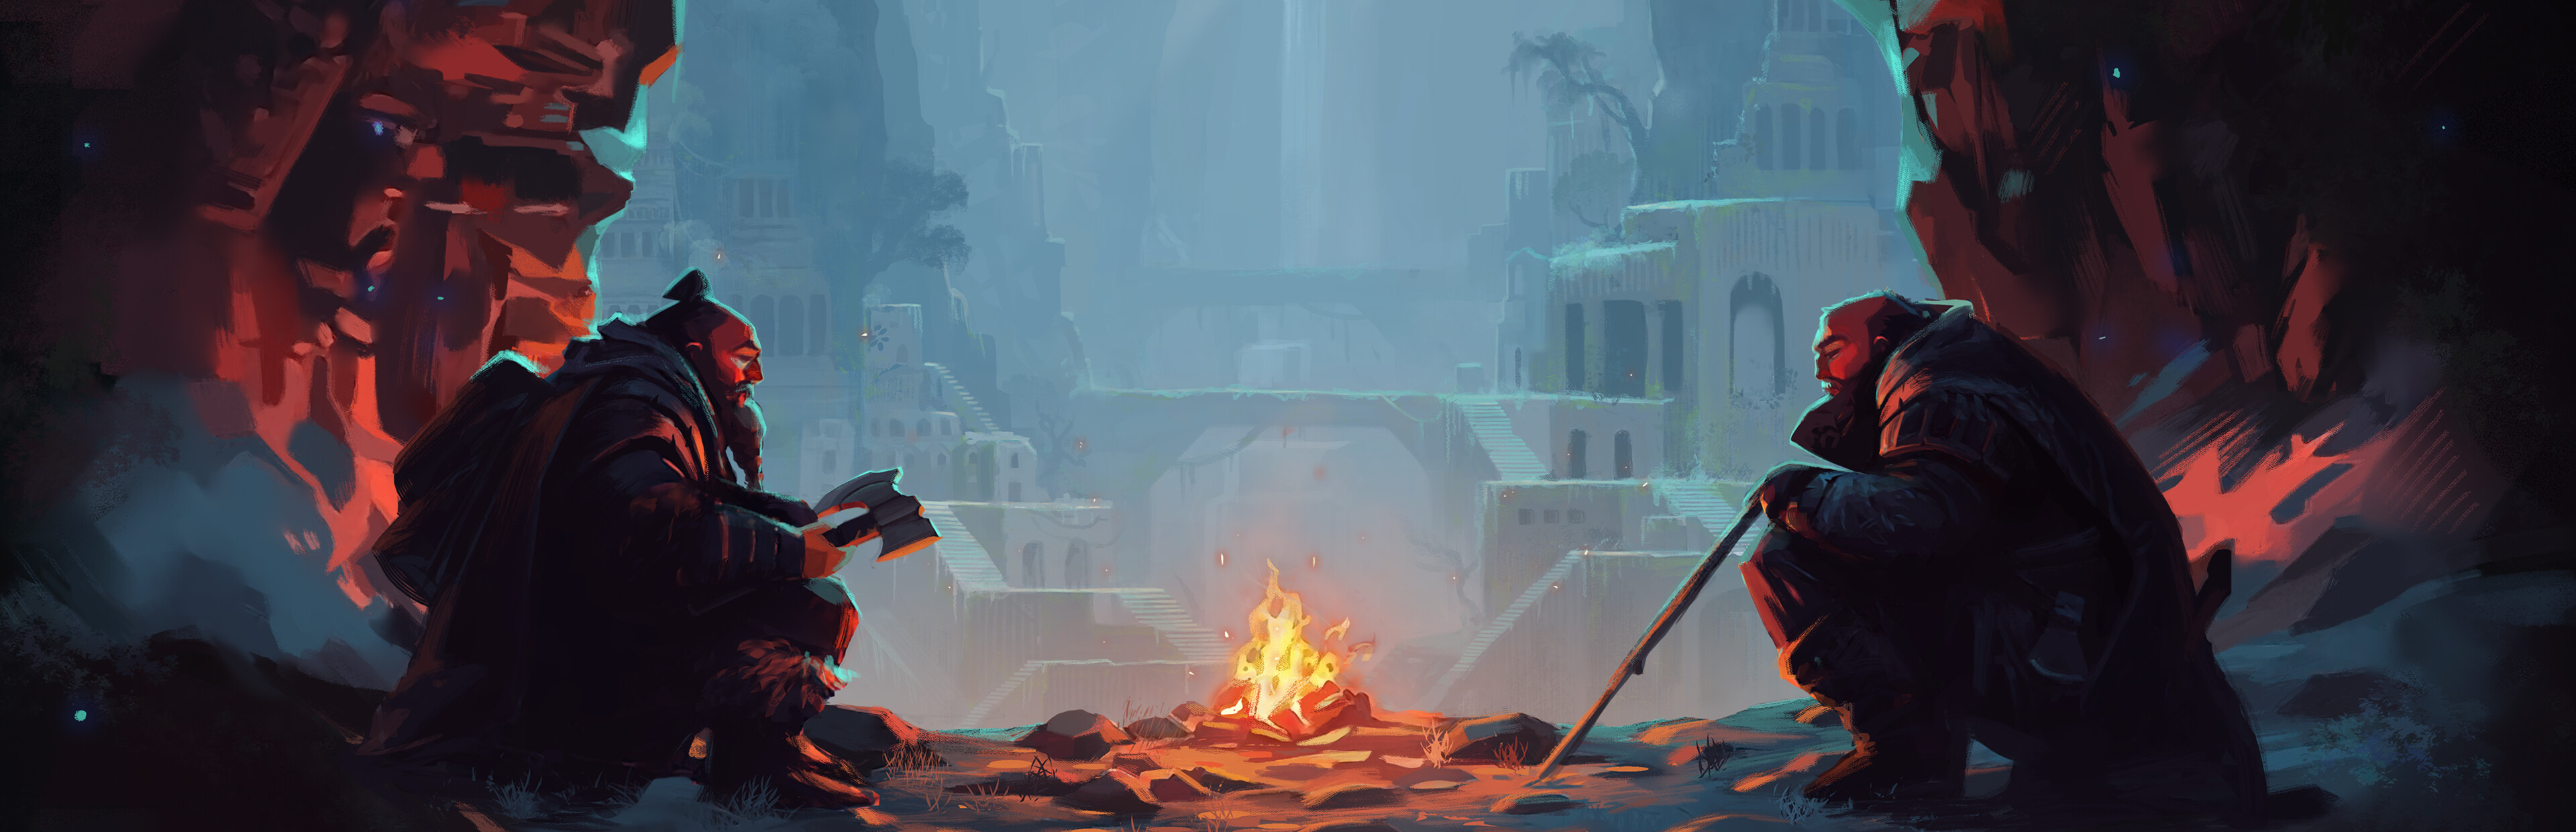
Greetings kin! There's a new official mini-campaign we've published to mod.io. You can get this new content for free, in-game by visiting Scoot Manis. Scoot is the funny little "purveyor of worlds" standing outside of the Great Hall in Rivenbrook Keep. Through Scoot, you will find your way to an official mini-campaign from us called...
What changed
- Gameplay
- UI and audio
- Maps
Tyranny of the al'Batash
We don't want to spoil the details of the mini-campaign for you, but we'll say it's a small-ish (just over a dozen locations) mini-campaign. Tyranny is complete with its own full storyline, new characters, and new trials and tribulations. It's also a bit on the more challenging side for those who've already ripped through the core campaign and are end-game Whitebeards thirsting for more. So be warned! You'll probably want to visit the lands of Zarakh after you've completed the main story if you've not done so yet. (Or at the very least, have some decent late-game drip and skills) I do want to warn you ahead of time, because of the significant expense of doing so it will unfortunately not be in the cards for mod content from us such as Tyranny of the al'Batash to be localized to other languages and so our mod campaigns will only be available in English.
What we do want to get into some of the details of is the Editor.
Would it surprise you to know that we made this entire new mini-campaign essentially over a single weekend using the in-game Editor? Alright, alright, plus a few extra days to do some testing and proof through the dialog all professional-like on it, but it is an official mod campaign from the developers after all.
The Editor
[Note: The Editor itself is also not localized outside of English as it is essentially a mod toolset, though it can still be used to make content in any language.] Let's take a little spin through just how easy it is to make your own locations in Regions of Ruin: Runegate using the Editor. From the main menu > click Editor > Create.
You'll be able to put in a name and description for your campaign, but don't worry- you can edit those later once you know a bit more what the story you're making is going to be. Once you hit Create, after a little load you'll be greeted by the main Editor view.
You'll find all your big important buttons up at the top! The slider changes the time of day and the buttons open various important things from your quests and flags, to your world map where you can make other locations from, to an editor for making custom items, and the settings of this location or even the overall world. Most importantly: save and test!
To the right is a list of all the parallax layers, clicking one will hide all the others so you can isolate the view to just the parallax layer you're working on right now.
To the left, you'll find a panel where you can find all the objects. This is where all the fun stuff happens. Every object in the game is in this list of people, places, and things for you to use however you'd like in making the story you would like to tell. There's a couple thousand to choose from! You can open/close this panel with \ on the keyboard to see the location cleanly.
The left panel will also fill with an inspector once you select any object in scene so that you can twiddle with it's settings.
Now, our goal here is just something very simple to start. We'll use the default location for now, though if you prefer, from the map screen you can make new locations using different biome templates or even start from scratch. Whatever you do, as long as "Is this the Runegate Level" in level settings is set to true, and there is a Runegate object present, that will be the location people land in when they first load up your content. For now let's sprinkle some decorations around. You'll have to rummage around in the left panel a bit to get a feel for all the decorations that are available, but I'm going to go right into Structures and look for some of those namesake "Ruins Dwarven -" objects. We'll scatter some ruins about and make the Runegate location have that, "forgotten since the old times," kind of look.
Some Editor tips: Once you've selected an object to place from the list, holding Left Ctrl (default on Win/Osx) will lock objects to the ground plane and you can also rotate most objects with [R] before placing them. Once placed, if you then select an object several "quick action" buttons will appear near your selection- the leftmost up and down arrow buttons will let you change the object's layering order respective to other objects on that layer so you can get everything layered how you're going for.
Right! Now that we have some ruins scattered about, let's do some fun stuff. If we're calling our world "The Mistlands," I'd like some moody mist please.
In Level Settings at the top, if you scroll down and set "Biome Colors ID" to let's say Fog_Medium and then "Weather Type" to Rain, which will bring up a few more options like "Strength" which I'll set to Light. I'll also Hide Sun and Moon, just to complete that overcast dreary look. You can also set audio things in here- the soundtrack, day and night ambience loops whose mixture depends on the time of day, and while I'm here I'm going to name this location "Mistlands Runegate" in the region "The Mistlands." Those names will appear momentarily on an in-game UI banner when you travel here.
There we go! Extra misty lookin' now. Alright with vibes established- let's drop in a plot device, er ehm, I mean a character native to this world to move things onwards once you arrive here through the Runegate. From the object list we'll go in the folder Creatures and NPCs and grab a Human Npc Male and plop him down under the upper ruins segment sheltering from the rain. Once placed, you can select him to populate the left inspector panel with his tweak-able settings. I'll click through all the appearance settings until I get something I like the look of and we'll hop into the name field underneath and call him Sven. Down at the bottom I'll choose a voice pack for him, which you can hear previews of as you click through them. Sven looks to me like he might sound like a Human_Rasmus kinda' guy. Steam post image
There we are and hello Sven! Let's give Sven some dialog. In the left inspector, you can see a big "Add Dialog" button, or by clicking the dialog bubble icon in the quick action buttons underneath Sven himself. That will take us to the dialog editor where we can add a new dialog tree. You can use various separate dialog trees to do more complicated things later for managing characters that have a lot of different stuff to say over time, but for now we'll just give him one tree. You can hit the cog and name that tree if you like, or you can just click the tree to open it up. Now, the dialog editor might at first seem like an intimidating place, but I promise that once you kinda' get the basics the dialog editor makes it as easy as we could think to make it to make anything from simple, to incredibly complicated conversations. Let's start easy though. At the top is the Intro Node. This is whatever they'll say when you start the conversation. The extra second line in the intro node is in case you wanted them to say something different on repeated conversations. A good use I find for the repeat intro line is to intro the dialog like you've already met at least once as seen below.
From there we add a couple "options" or player responses. When we select any of these nodes, you'll see an inspector panel on the left populate with further settings. For each player option/question, we'll want to select it and fill out the response in the left panel. Response is what the npc will say back to you when you choose that player option. This must be filled out separately inside each player option's node inspector as you could have like 3 options that just go back into the same state as you ask several things from the same set of options, so they must carry their responses along with them to inject into npc response in whatever target state it points to. Once you have some responses, you can add a new state and then click your first player option in state 0 and then put the new state's ID number (1) into the Goes To State input field in the node inspector panel. This will now route the dialog tree to the targeted state when that option is chosen in-game.
A few quick tips on special dialog tags! There are only two to remember:
Anywhere you write will be replaced with the actual player's chosen name in-game. [In editor testing though it will just appear as Player, because you're just playing as a temporary test dwarf not based off of an actual save file.]
Wherever a character has to say a gendered word that relies on the player's chosen sex: where anything you write on either side of the slash inside the arrow tags will be chosen based on the player's character choice. The only thing that matters is and the order being the male version / and then the female version. So if you wrote, "Ohhh, you're a bit of a crazy dwarf aren't you?" It will choose the proper completed sentence in-game based on the player playing it.
Fun fact: these tags were incredibly useful in localization when we ran into gendered languages such as Spanish, where several words in the sentence could change based on the gendering of the words used. All of that kind of stuff could be solved with this one simple tag: ! Now that we have a basic dialog, close the dialog editor and let's just see how simple it is to go from writing a few lines, to playing through that dialog in game. Save if you like [good habit] and hit the Play button at the top. After a short load you'll be in testing mode. This is the Runegate level so you'll pop out of the Runegate playing as a testing mode dwarf with some default basic equipment. We'll jump up to our rained-on Sven and:
Steam post image Voila! Just as easy as that we're already having an in-game conversation with Sven, complete with multiple player response options and from those separate branching dialogs! Now, we'd probably in this conversation have Sven point the player at somewhere else, this being the first location of the campaign."Ah yes, we have a camp to north from here. You should probably go there and talk to Mother Olga."Something of that sort. Now obviously that's a very basic first location, but that's kind of the main point of this primer. You've already made your entire own first location, it's as simple as that. You could just as easily as have swapped Sven out for a band of bloodthirsty orcs for a much ruder welcome to your world, or any other type of situation you could imagine up. From here you'll probably want to make more locations with different things going on in them, but all of that is just a repetition of the same process of making one location at a time to varying degrees of depth and complexity. We wanted to show how simple it can be to make content with the Editor, which is what we'd like to invite you all to give a try. We have a suspicion that there are a fair few creative and tinkerer types amongst you out there who'd have a blast with writing your own little adventures. So we'll leave it at your first location for now. Try dipping your toes into the water! Some of you might find your new favorite rabbit-hole to fall down. We've put a lot of time into our Editor. It's a robust toolset that we've tried our best to distill down to the simplest-to-use form we could. We still want to do some guides that go into far greater detail than this for the Editor that dive into more complex topics, quests, flags and conditions, etc, and now that we're starting to come out of the initial launch frenzy we should have a little bit more time to start getting that stuff together. We hope you enjoy Tyranny of the al'Batash! Good luck, and happy crafting! - Mike & Steve @ Gameclaw
Source
Changelog.gg summarizes and formats this update. How we read updates.