
In this update7
Full notes
Full Substructure update
Read the full published notes in a cleaner layout. The original post stays linked below.
What changed
- Gameplay
- Maps
- Events
- Balance
- Workshop
- Store
Substructure changes
This diary will walk you through the way we construct the various layers of the planet in Substructure. Detailing the technical approach we take to generate both the art assets that make up the world and the approach we take to combine these assets to achieve the visual targets defined in our concept art.
We construct the art for our planetary layers like a cake - three distinct components - each in the form of 2D images - built on top of each other, each serving a specific visual and gameplay purpose.
Base (terrain tiles),
Decals (organic surface detail), and
Decoratives (the unique rocks and flora that further defines each layer’s identity).
Concept
These concept illustrations for the first two planetary layers, produced by our Art Director Jamie Martin, established the creative direction for everything that followed.
The challenge was to create environments that were visually interesting and different from each other, but was still a functional canvas for players to build their structures and automation networks upon.
Layer 1: The Base
For the base terrain layer, we use an approach based on Wang Tiles that allows us to cover the surface with a small set of specifically-designed 2D image tiles (png textures) that match up seamlessly, but don't have repeating patterns.
Wang Tiles are square tiles with coloured edges that are placed next to each other so that adjoining edges have matching colors. In computer graphics, they are used to generate large nonperiodic signals such as textures and Poisson disk distributions, but their edge constraints do not directly constrain diagonal neighbors.
We’ve built an internal tool that takes our source artwork and generates these tileable terrain 2D textures automatically. The tool analyses the source images and produces tile sets that maintain visual consistency while eliminating obvious repetition.
The tool itself is still a roll of the dice, however. Using the command line tool, we are able to input a number of different source textures, diffuse, depth, normal, etc., and have it attempt to generate a wang texture that can be used in the game.
However, it is not guaranteed to output a usable texture, and often still comes with clear and obvious repeating patterns.
For example, grass is particularly hard given the lack of uniformity present.
See this BAD example:
The tool gives us the ability to define a range of options in terms of weights, stitching, and sample sizes. Often, we need to generate dozens of examples to find something usable in the game.
command-line flags:
| Flag | Details |
|---|---|
| --overwrite, --nooverwrite | [default: false] |
| --output (string, required) | output path (prefix) |
| --diffuse (string, required) | input diffuse texture |
| --depth (string) | input depth texture |
| --normal (string) | input normal texture |
| --downscale (uint32) | downscale factor for input textures [default: 4] |
| --example_size (uint32) | size in tiles (in each dimension) of example image |
| --find_best_patch_attempts (uint32) | number of random samples to check for best matching patch (corners only) [default: 0] |
| --random_seed (uint64) | |
| --diffuse_stitch_weight (float) | relative influence of diffuse map on stitching [default: 1.000000] |
| --depth_stitch_weight (float) | relative influence of depth map on stitching [default: 2.000000] |
| --normal_stitch_weight (float) | relative influence of normal map on stitching [default: 1.000000] |
As we explored this, it became clear that we needed to take a slightly different approach for features like grass in particular, and the Wang textures today are used more for creating a highly uniform base image (our 'canvas') upon which we sprinkle further elements to achieve the organic and natural visuals we so deeply desired.
Simple uniform base textures like the one shown below are what we use in the game today.
This process produces a 1152x1152 tile texture, which is ingested by the engine and placed in the world using the Wang Tile placement approach to achieve the above results.
From the artistic point of view, creating a completely new environment for the game is always a fun challenge. The ground textures need to be quite realistic, but, at the same time, we want them to be themed around unique tones per layer. They need to be quite neutral to create a base canvas for decals and a good background for the wildlife and structures, and require a bit of trial and error to achieve the desired results. Using procedurally generated texture sets allows us to iterate easily, which, in connection with the proprietary tool, gives us space to experiment with different colour palettes, detail sizes, etc.
Layer 2: Decals
The base tiles provide the foundation. The second layer, decals, adds the detail that makes environments feel more organic.
Our inspiration for decals are, among others, real-life lichen, mould, and moss patches. We just want them bigger, weirder and more “out of this world”. Making them in Substance Designer meant that we could produce multiple decals in one sheet, then just mask out different texture islands, crop and export each one from Photoshop.
Node trees for all of this layer’s decals are quite straightforward, which is very helpful whenever we need to go back to them and make any changes.
We’ve built up a library of hundreds of decals across the game. Each decal type includes diffuse, depth, and normal texture maps, giving us full control over how they interact with lighting and how they blend with the terrain beneath them.
The worldgen system scatters these decals according to a series of noise functions: certain decals cluster near terrain features, others avoid each other, and some only appear at specific densities. The goal is to create organic-looking distributions that feel natural rather than random.
Tuning decal placement is one of the most time-consuming parts of the development process. It can take many iterations to find the right balance.
Early World Gen Experiments
Generation
Once we have our tiles and decals, we use a series of noise functions and generation logic to slowly start constructing the surface.
We start with 4 ‘biomes’ based on these noise functions. With ‘elevation’ and ‘moisture’ as descriptive words for these areas.
Each tile or decals is spawned based on a positive or negative elevation and moisture settings.
Layer 3: Decoratives
Each layer in our game features unique wild plants and crops that players can discover and cultivate. They are a core part of the gameplay loop and a key element of each layer’s identity.
Creating any new asset for Substructure always starts with 3D models.
For each new Layer we needed a plant that would convey the layer's theme by its shape and colour.
Early shape and size exploration for the first two crops, 'Hollowstem' and 'Glowcaps'.
From these 3d assets, we render 2d sprites, including diffuse maps (the base colour and texture), normal maps (the illusion of 3D depth, surface detail, and more realistic lighting), specular maps (how the surface reflects light), depth maps (for lighting computations), and separate shadow assets. Certain assets may also include an emissive map to simulate localised lighting (e.g., bioluminescent fungi or a machine’s warning light).
We also build trees, rocks, and (coming soon) cliffs. Each is spawned using the same noise functions outlined above to work together to create our layers in the game.
The Result
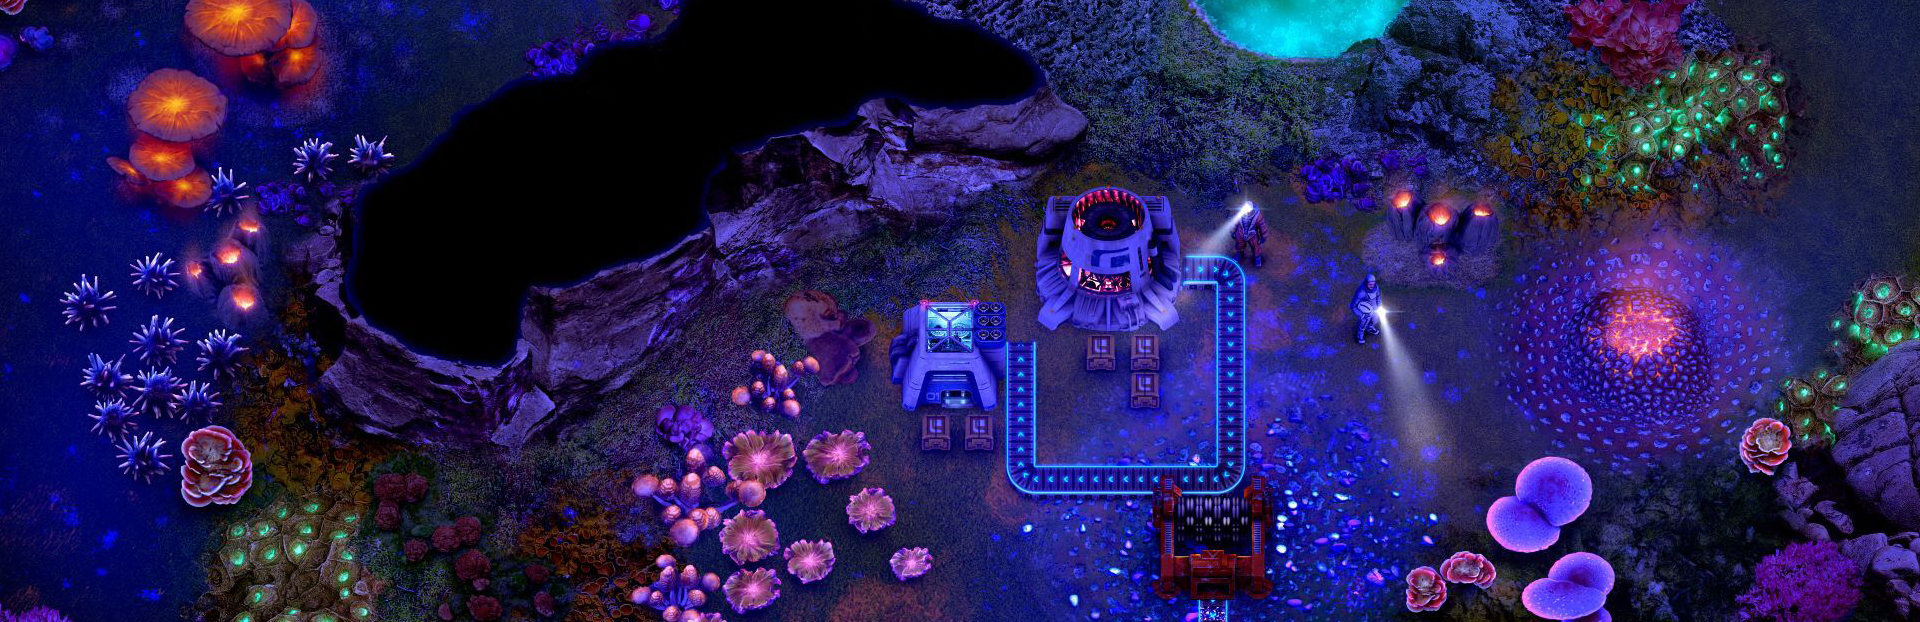
When all three layers come together, we can see the environment start to take shape.
The images above show where we are today with the Surface and Humid layers, and as we continue to develop the game, we are adding new features to enhance the environment visuals even further.
This layered approach has become our standard pipeline for building new planetary environments.
That’s it for this diary. If you missed the first one, you can check that out as well, where we looked at who we are as a team, the idea of 'All Game', and the worldbuilding work that helped define the world and the broader setting of Substructure.
In the next dev diary, we’ll move away from the surface of the world and into some of the code underneath Substructure. We’ll look at how the game handles prototype data, why translating between Lua and C++ can easily become tedious and error-prone, and how we use reflection and annotations to write a little bit of complicated code so we don’t have to keep writing lots of simple code by hand.
— The Dubious Design Team
Join the Substructure Community
If you’d like to follow along with development, ask questions, or just chat with us about the game, you can find us on our socials and Discord. Discord | Reddit | Twitter | BlueSky | Website
Source
Changelog.gg summarizes and formats this update. How we read updates.