In this update5
Full notes
Full Conflict of Interest update
Read the full published notes in a cleaner layout. The original post stays linked below.
What changed
- Gameplay
- Performance
Conflict of Interest changes
In this post I thought I’d do a little explaining for how I’ve been changing guard and player behavior to use state machines to be more robust, in case any other developers may be reading this and encounter similar issues. Essentially, it makes heavy usage of enums and Godot’s signal system.
Enums
First, [c]Guard[/c] is declared as a class at the start of the script so its enums can be accessed from any other scene/script.
extends CharacterBody2D class_name Guard
Guard enums are split into three types: BASE_STATE, WEAPON_STATE, and INTERACT_STATE.
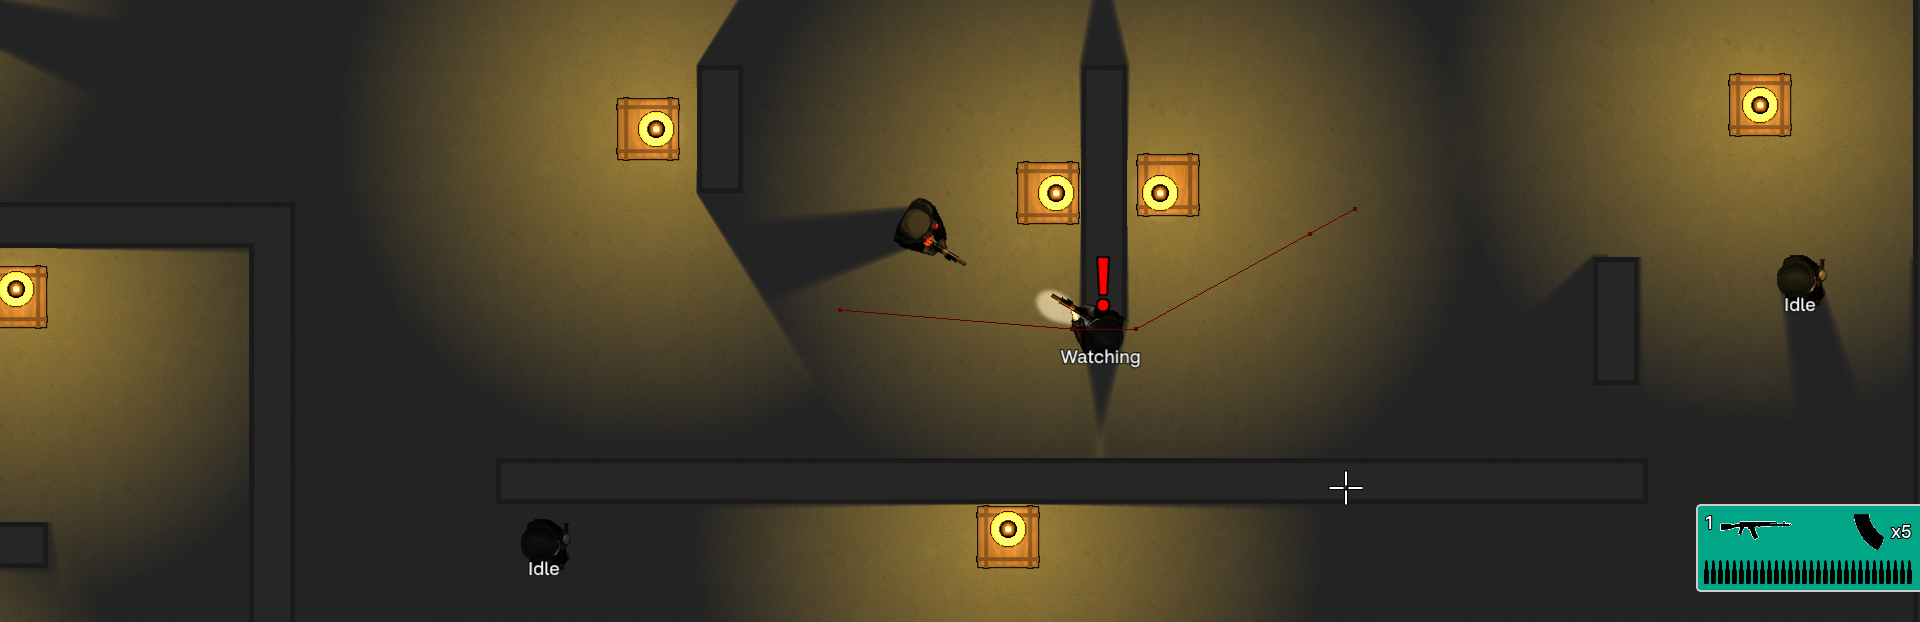
enum BASE_STATE { DAY_IDLE, DAY_WALK, IDLE, SITTING, SOUND_ALERTED, GO_TO_SOUND, ... }Base state is what the guard is currently doing right now. This could be walking, idle, searching, etc. Since this is a state machine, it can only be in one base state at a time. This gets rid of the problem of creating giant if/else statements with dozens of bools to determine what a guard is or isn’t doing at the moment.
enum WEAPON_STATE { NONE, IDLE, SHOOTING, RELOADING, PRIMING, COOKING, THROWING }Weapon state is synced with the weapon the guard currently possesses. Weapons have been given their own state machine as well, and the guard’s WEAPON_STATE will automatically update to whatever the gun’s state is. More on how this is done later.
enum INTERACT_STATE { IDLE, TALKING, TALKING_GUNPOINT, ATTACKING, INTERACTING }Interact state determines what the guard is currently interacting with. This changes when you’re talking with the guard, holding them hostage, or if they’re attacking.
@export var currentBaseState: BASE_STATE = BASE_STATE.IDLE @export var currentWeaponState: WEAPON_STATE = WEAPON_STATE.IDLE @export var currentInteractState: INTERACT_STATE = INTERACT_STATE.IDLE
All of these states have an appropriate typed variable used to track their current state across scripts. Each of them is exported to set a guard’s initial state from the editor. This is used to set guards that are patrolling or are otherwise not starting in an idle state.
const baseStateDict: Dictionary\[BASE_STATE, String] = { BASE_STATE.DAY_IDLE: "DayIdle", BASE_STATE.DAY_WALK: "DayWalk", BASE_STATE.IDLE: "Idle", BASE_STATE.SITTING: "Sitting", BASE_STATE.SOUND_ALERTED: "SoundAlerted", BASE_STATE.GO_TO_SOUND: "GoToSound", ... }Each state has a dictionary that matches its states to a string for debug purposes. With Godot 4.6 this is somewhat redundant as the debug menu now shows enum names instead of their [c]int[/c] values, however it still has other uses such as matching states to sprite names in an [c]AnimatedSprite2D[/c].
Signals
The guard script also includes signals for when each of its states are switched, which carries both the old and new state with it.
signal stateSwitched(oldState: BASE_STATE, newState: BASE_STATE) signal weaponStateSwitched(oldWeaponState: WEAPON_STATE, newWeaponState: WEAPON_STATE) signal interactStateSwitched(oldInteractState: INTERACT_STATE, newInteractState: INTERACT_STATE)
Once the guard and its children are ready, function [c]connectSignals[/c] is called from [c]_ready[/c]:
func connectSignals() -> void: stateSwitched.connect(_onGuardStateSwitched) for node in find_children("*"): if node.has_method("_onGuardStateSwitched"): stateSwitched.connect(node._onGuardStateSwitched)This will connect the [c]stateSwitched[/c] signal to the [c]_onGuardStateSwitched[/c] function and search all of its child nodes (including subchildren) for the same function and connect the signal to that function in the node, ensuring it receives it when it’s emitted. Each child node has its own [c]_onGuardStateSwitched[/c] function to reduce script size and keep everything organized.
Note: For performance reasons, each of these signals should be connected beforehand in the editor instead of at runtime once everything is setup, as searching each and every child node for a function is not very efficient, especially when dozens of guards are in a scene. However, this is fine for debugging purposes.
func switchState(newBaseState: BASE_STATE) -> void: var oldState: BASE_STATE = currentBaseState currentBaseState = newBaseState stateSwitched.emit(oldState, newBaseState)
When a guard changes state, either from itself or one of its child nodes, the appropriate [c]switchState[/c] function is called on the Guard. This notes the old state, changes [c]currentBaseState[/c] to the new state, then emits a signal containing the old and new states. This can be used to determine how other nodes should behave depending on the new state and what it’s being switched from.
Overview
func _ready() -> void: setSelfOnChildren() connectSignals() switchState(currentBaseState) call("ready" + baseStateDict\[currentBaseState]) func setSelfOnChildren() -> void: for node in find_children("*"): if node.has_method("setGuard"): node.setGuard(self) func connectSignals() -> void: stateSwitched.connect(_onGuardStateSwitched) for node in find_children("*"): if node.has_method("_onGuardStateSwitched"): stateSwitched.connect(node._onGuardStateSwitched)This is what the final setup looks like for the Guard node. [c]setSelfOnChildren()[/c] searches all child nodes for a [c]setGuard()[/c] function and calls it, which sets a local guard variable on the child node to avoid unrealiable usage of [c]get_node()[/c] and [c]get_parent()[/c].
Child Nodes
For the sake of keeping everything organized, most child nodes on the guard have their own scene and script.
Here’s a closer look at what the NavAgent node looks like, which handles navigation for the guard.
# States where navigation is immediately stopped. const stopStates: Array\[Guard.BASE_STATE] = \[ Guard.BASE_STATE.DAY_IDLE, Guard.BASE_STATE.IDLE, Guard.BASE_STATE.PATROLLING_IDLE, Guard.BASE_STATE.KILLED, Guard.BASE_STATE.KNOCKING_OUT ]
Constant arrays like this are in several of the child nodes. They’re used for determining what action to take by grouping states together instead of checking each one individually. In this constant, if the guard’s state switches to any of these, it immediately stops navigation and sets its speed and velocity to zero.
const speedDict: Dictionary\[Guard.BASE_STATE, float] = { Guard.BASE_STATE.DAY_IDLE: 0.0, Guard.BASE_STATE.DAY_WALK: 50.0, Guard.BASE_STATE.IDLE: 0.0, Guard.BASE_STATE.SITTING: 0.0, Guard.BASE_STATE.SOUND_ALERTED: 0.0, Guard.BASE_STATE.GO_TO_SOUND: 50.0, ... }Dictionaries are also used in a similar way. Each state has its own speed associated with it to allow for quick changing of velocity when states are switched. Typing out each state and associating a value with it is tedious, but ensures that there are no errors or discrepancies in movement.
Note: Instead of adding an entry for every states, this can be shortened by checking if a state is in [c]speedDict.keys()[/c] and assigning the appropriate value, or defaulting to a preset value such as [c]0.0[/c] if it’s not.
When the guard switches states, it emits the [c]stateSwitched[/c] signal with the new state, which is received by all its child nodes. The child node then takes action based on the new state. This is what [c]_onGuardStateSwitched()[/c] looks like for the NavAgent:
func _onGuardStateSwitched(_oldState: Guard.BASE_STATE, newState: Guard.BASE_STATE) -> void: if newState in stopStates: stopNav() set_physics_process(false) else: set_physics_process(true) match newState: Guard.BASE_STATE.PATROLLING: setRandomPatrolMarker() move(currentPatrolMarker.position) Guard.BASE_STATE.GO_TO_SOUND: move(guard.soundAlertLoc) Guard.BASE_STATE.RETURN_TO_POSITION: move(guard.startPos)
It first checks if the new state is in the [c]stopStates[/c] array; if it is, it stops navigation and disables [c]_physics_process()[/c] to save on performance; if it isn’t, it enables [c]_physics_process()[/c]. It then takes action from a [c]match[/c] statement based on the new state. This allows each state to have its own set of functions to call while acting independently.
Global Signals
Sometimes a signal needs to reach an unrelated node somewhere in the scene tree. Instead of trying to find this node when it’s needed, global signals can be used. A global signal is just a [c]signal[/c] that’s defined in a singleton so it can be accessed from anywhere. For ease of use, this global is named [c]SH[/c], short for “Signal Handler”.
signal playerReady(player: CharacterBody2D) signal playerSpriteReady(sprite: AnimatedSprite2D) signal playerGunReady(gun: Node2D) signal playerReloading(gun: Node2D) signal playerReloadFinished(gun: Node2D) signal playerSpeedChanged(speed: float) signal playerEnteredInteractArea(node: Node2D, popupText: String)
Here are a few signals in the [c]SH[/c] script that are called for specific player actions. Since Godot calls [c]_ready[/c] on nodes in reverse child order (everything is called from the bottom up), this can sometimes make assigning nodes tedious, especially if a node needs to find another node that may or may not be in the scene tree. [c]SH[/c] signals ensure that a node is actually ready.
For example, many nodes will need to keep track of the player, so a lot of them have a [c]_ready[/c] function that looks like this:
var player: CharacterBody2D func _ready() -> void: connectSignals() func connectSignals() -> void: SH.playerReady.connect(_onPlayerReady) func playerReady(node: CharacterBody2D) -> void: player = node
And the appropriate Player script:
func _ready() -> void: func1() func2() setNodes() SH.playerReady.emit(self)
[c]playerReady[/c] is emitted at the end of the player’s [c]_ready[/c] function and is fully loaded in the scene tree. This ensures that all other info nodes may need from the player is ready and setup before they call it.
This is the way I’ve set everything up, and it works in a way that I understand and can build on. There are probably areas it can be improved such as each of use, but it keeps everything organized and easy to understand.
Source
Changelog.gg summarizes and formats this update. How we read updates.