In this update8
Full notes
Full Autopsy Simulator update
Read the full published notes in a cleaner layout. The original post stays linked below.
What changed
- Gameplay
- Store
- UI and audio
Autopsy Simulator changes
Dear Pathomorphologists,
We're extremely pleased to announce that Autopsy Simulator has gone gold! We want to begin by thanking you all for supporting us- it's been a long development journey since the creation of Autopsy Simulator, which has spanned over the last four years. We genuinely appreciate your patience whilst we've been making our psychological horror simulator game the best it can be! The gold master of the game is ready for players to experience on 6th June and we cannot wait to see your first impressions of Autopsy Simulator!
Alongside this news, we have new screenshots from our gold master build to share with you all! 👀 But before we jump into this, we want to run the community through all the main tools you have at your disposal in the Autopsy Room.
Autopsy Tools
Magnifier
After documenting the cadaver in the condition it arrived with the Polaroid camera, we need to take a closer inspection of the areas with external abnormalities before we document these on our report. It's worth remembering the context around the scene of the death. You'll do so via the police report, which you'll read before conducting each autopsy. This allows you to interpret any traces found on the body during the magnifier inspection.
To use the Magnifier tool, select Magnifier on the tool wheel and begin to examine the areas highlighted on the body. In the example below, we're investigating the which seems to contain a bite mark. We'll need to jot that down and inspect this further into the examination.
UV Lamp
Need to check for external traces? The good old UV Lamp is the tool you'll need for conducting external analysis during your autopsy. Select this tool and scan the whole body, looking closely and carefully for any UV ray traces.
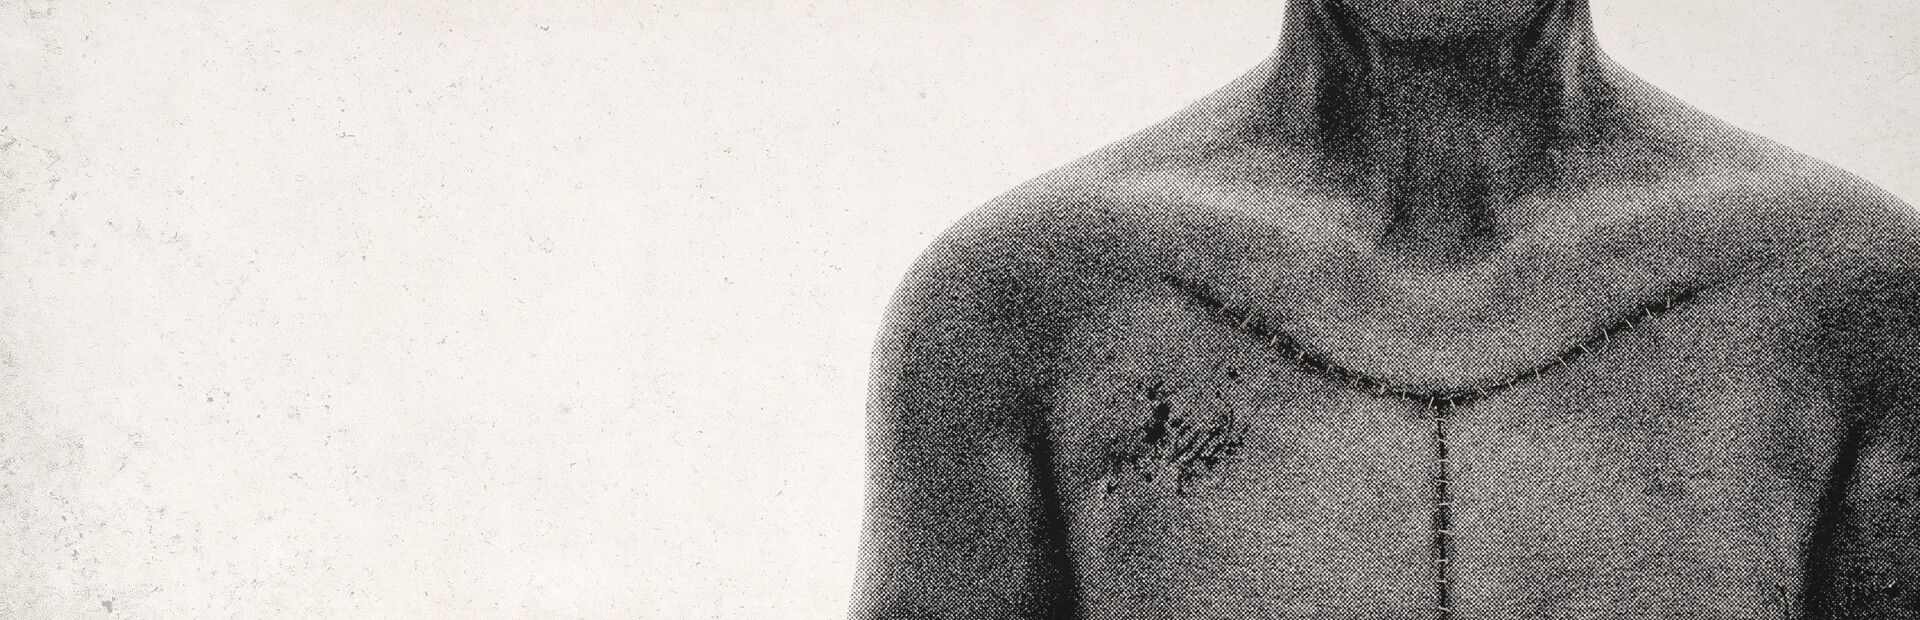
Scalpel
Moving from external to internal, we'll need to cut open the body and begin the remainder of the examination. Grab the Scalpel tool to begin cutting. The incision should be in the shape of the letter 'Y'. Use a deep cut to reach the ribs and penetrate the abdominal wall. Once the body is fully cut open, we peel back and separate the skin to perform the internal examination.
Loppers
The loppers are a crucial tool for the internal examination. Use the Lopper tool to remove the ribs from the body. This will allow you to explore the main organs below, including the heart and lungs. (We'd like to say that the loppers have a very satisfying crunch sound.)
Saw
Next up, we have the oscillating saw. Utilise this tool to inspect the brain for abnormalities by opening up the cranium. The cut with the saw is made from ear to ear. After which, remove the skin and the top of the skull and then cut the brain starting from the occipital lobe. In this way, the dura mater of the brain is slowly exposed.
Once the cut of the cranium is complete, we can perform a basic examination of the brain. You may need to examine the brain further by taking a cross-section on the cutting board.
Syringe
Taking samples from the cadaver is useful for toxicological tests. To do so, we select the Syringe tool and draw blood from the key highlighted areas. In the example below, we're taking samples from three organs to be sure of alcohol levels in the body. We draw 5ml of blood from the eyeball, the heart, and the bladder, for later analysis which will rule
Source
Changelog.gg summarizes and formats this update. How we read updates.