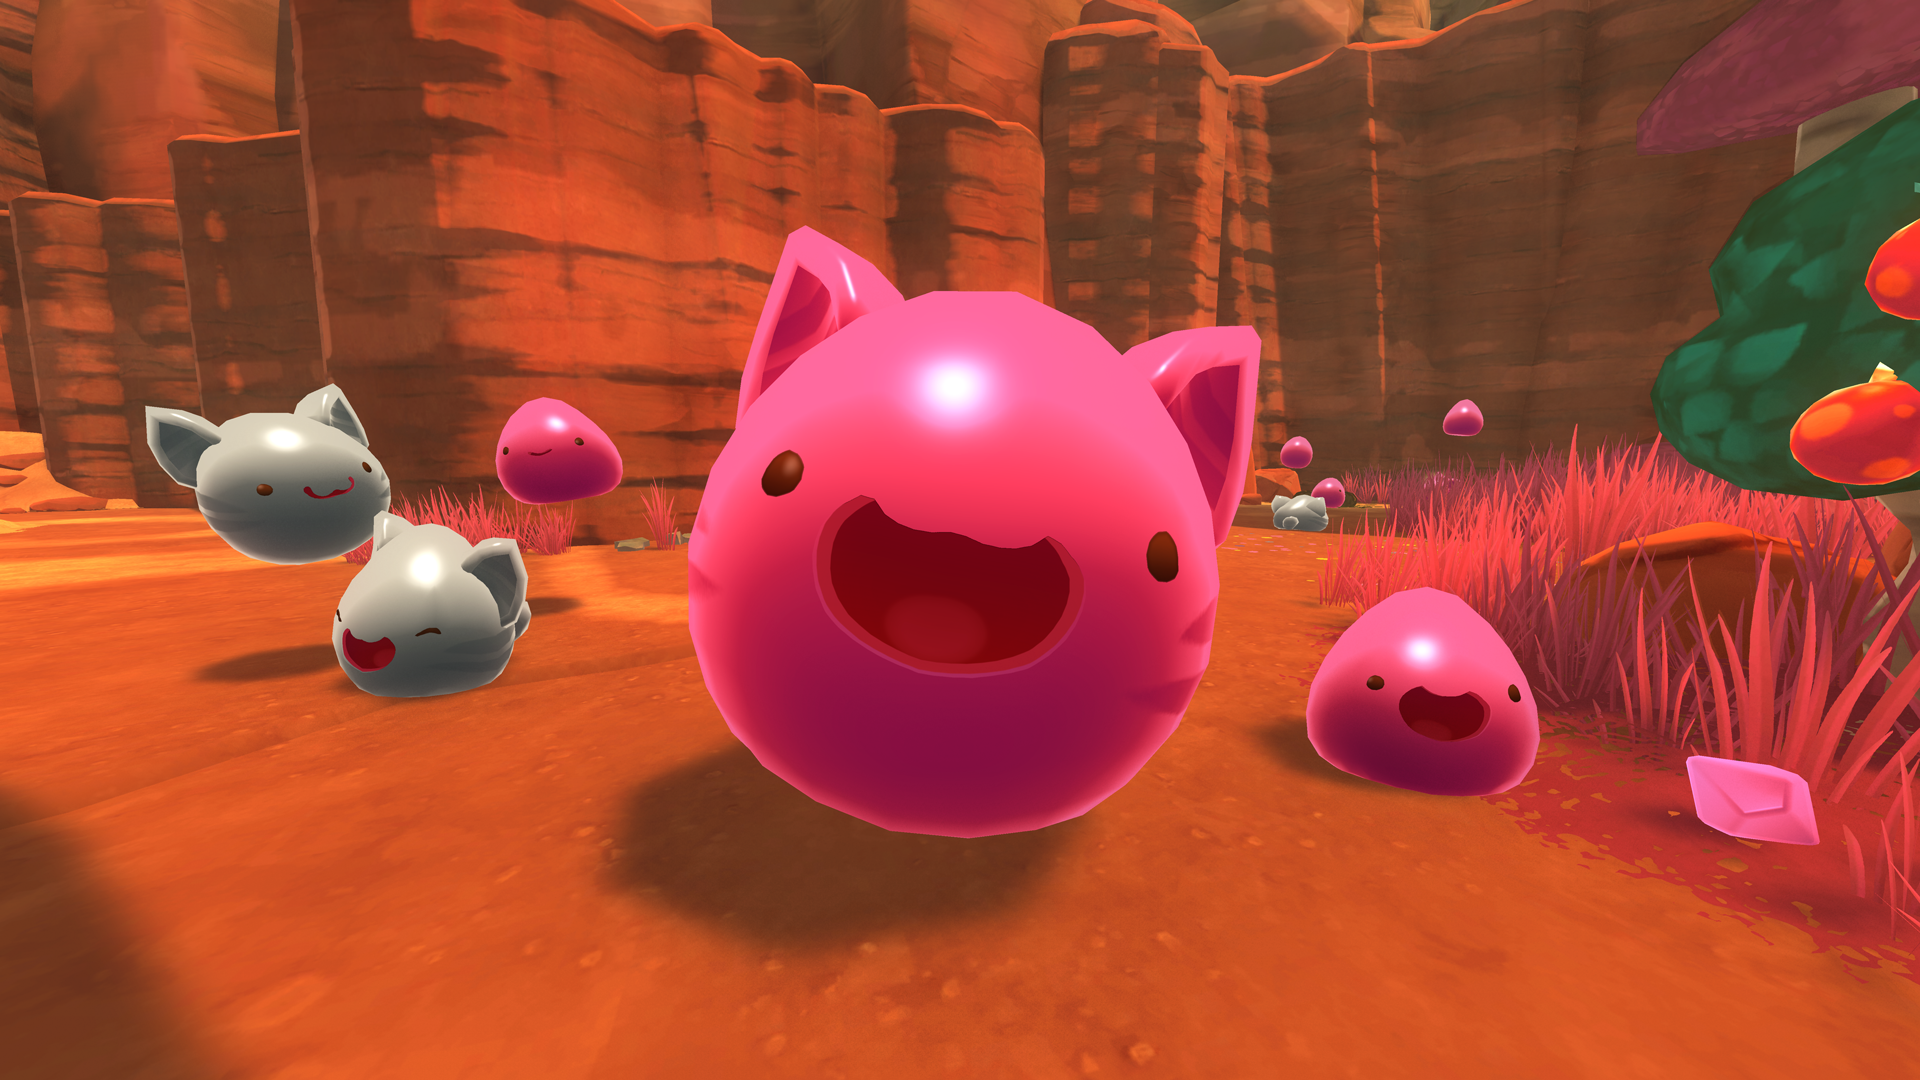
Art Blog: Let's Talk About Face Shaders Hello! My name is Ian McConville, and I'm the Principle Artist at Monomi Park. For Slime Rancher's 1.4.
Full notes
Full Slime Rancher update
Read the full published notes in a cleaner layout. The original post stays linked below.
What changed
0 fixes3 additions0 changes0 removals
Gameplay
Performance
addedArt Blog: Let's Talk About Face ShadersHello! My name is Ian McConville , and I'm the Principle Artist at Monomi Park. For Slime Rancher's 1.4.0 update, I rebuilt nearly all of the slime related shaders from the ground up! One of the most notable of these changes is that the slime faces are now more detailed and, at the same time take up less memory. Let's take a look at how the new shaders work!
addedArt Blog: Let's Talk About Face ShadersAnd then in the shader, we use a process called Smooth Step to sharpen the mask. Using the fuzzy values of the image we can find clean, crisp edges hidden in the texture. This process costs a little performance at run time, but is actually cheaper on texture memory. It also has the added bonus of being extremely sharp, even when the slime is very very close to the player!
addedArt Blog: Let's Talk About Face ShadersA regular texture, at the same resolution, without distance fields would look no where near as good. Even when using the Smooth Step process. Eyes - Adding some Sparkle! So now we have a super clean, crisp mask to work with for our eyes and mouth! It looks even sharper than the original high resolution version of the mask we started with. Before we get to the mouth, we'll begin with the eyes. The eyes make use of the RGB channels, but again, in this case we won't be using B. 1) In the first image, we see the original texture file masked by the Eye Mask. 2) If we take only the R channel and multiply that by a dark color (color1) we'll get a flat, black eye. 3) Then we'll do the same with the G channel and add that to the colored R channel. Then, using a simple node setup in the shader, some glints are generated. A UV offset is applied to the glints so that they move with the player's view. Once we have this, it's added to the rest of the eyes. The results: A nice (fake) glint is applied to the eye!
Slime Rancher changes
addedHello! My name is Ian McConville , and I'm the Principle Artist at Monomi Park. For Slime Rancher's 1.4.0 update, I rebuilt nearly all of the slime related shaders from the ground up! One of the most notable of these changes is that the slime faces are now more detailed and, at the same time take up less memory. Let's take a look at how the new shaders work!
addedAnd then in the shader, we use a process called Smooth Step to sharpen the mask. Using the fuzzy values of the image we can find clean, crisp edges hidden in the texture. This process costs a little performance at run time, but is actually cheaper on texture memory. It also has the added bonus of being extremely sharp, even when the slime is very very close to the player!
addedA regular texture, at the same resolution, without distance fields would look no where near as good. Even when using the Smooth Step process. Eyes - Adding some Sparkle! So now we have a super clean, crisp mask to work with for our eyes and mouth! It looks even sharper than the original high resolution version of the mask we started with. Before we get to the mouth, we'll begin with the eyes. The eyes make use of the RGB channels, but again, in this case we won't be using B. 1) In the first image, we see the original texture file masked by the Eye Mask. 2) If we take only the R channel and multiply that by a dark color (color1) we'll get a flat, black eye. 3) Then we'll do the same with the G channel and add that to the colored R channel. Then, using a simple node setup in the shader, some glints are generated. A UV offset is applied to the glints so that they move with the player's view. Once we have this, it's added to the rest of the eyes. The results: A nice (fake) glint is applied to the eye!
Art Blog: Let's Talk About Face Shaders
Hello! My name is Ian McConville, and I'm the Principle Artist at Monomi Park. For Slime Rancher's 1.4.0 update, I rebuilt nearly all of the slime related shaders from the ground up! One of the most notable of these changes is that the slime faces are now more detailed and, at the same time take up less memory. Let's take a look at how the new shaders work!
Texture - Changing the Channel! The first thing we do when building a slime is we start with a special, custom RGBA texture. A single RGBA texture file actually contains 4 greyscale images, and each image is used as a special mask that will dictate where artist defined colors will go on the face.
The R (red) channel is used for the eyes.
The G (green) channel is a highlight color for the eyes.
The B (blue) channel is a secondary eye color, but not used in this case.
The A (alpha) is used for the Mouth.
For now, we'll focus on the R and A channels. These will be our main face mask.
Now you're probably wondering why the mask is so FUZZY. Well, the reason is that the mask is actually a Distance Field. These fuzzy masks will allow for much higher detail than a standard rasterized texture could, even at larger resolutions! (The texture itself is only 64x64 pixels in size, which is roughly 1/4th the size of the face textures from Slime Rancher 1.3.0's faces).
This is done by applying a very simple layer style to a high resolution mask of the mouth:
And then in the shader, we use a process called Smooth Step to sharpen the mask. Using the fuzzy values of the image we can find clean, crisp edges hidden in the texture. This process costs a little performance at run time, but is actually cheaper on texture memory. It also has the added bonus of being extremely sharp, even when the slime is very very close to the player!
A regular texture, at the same resolution, without distance fields would look no where near as good. Even when using the Smooth Step process. Eyes - Adding some Sparkle! So now we have a super clean, crisp mask to work with for our eyes and mouth! It looks even sharper than the original high resolution version of the mask we started with. Before we get to the mouth, we'll begin with the eyes. The eyes make use of the RGB channels, but again, in this case we won't be using B. 1) In the first image, we see the original texture file masked by the Eye Mask. 2) If we take only the R channel and multiply that by a dark color (color1) we'll get a flat, black eye. 3) Then we'll do the same with the G channel and add that to the colored R channel. Then, using a simple node setup in the shader, some glints are generated. A UV offset is applied to the glints so that they move with the player's view. Once we have this, it's added to the rest of the eyes. The results: A nice (fake) glint is applied to the eye!