Full notes
Full Side Effect update
Read the full published notes in a cleaner layout. The original post stays linked below.
What changed
- Performance
- Gameplay
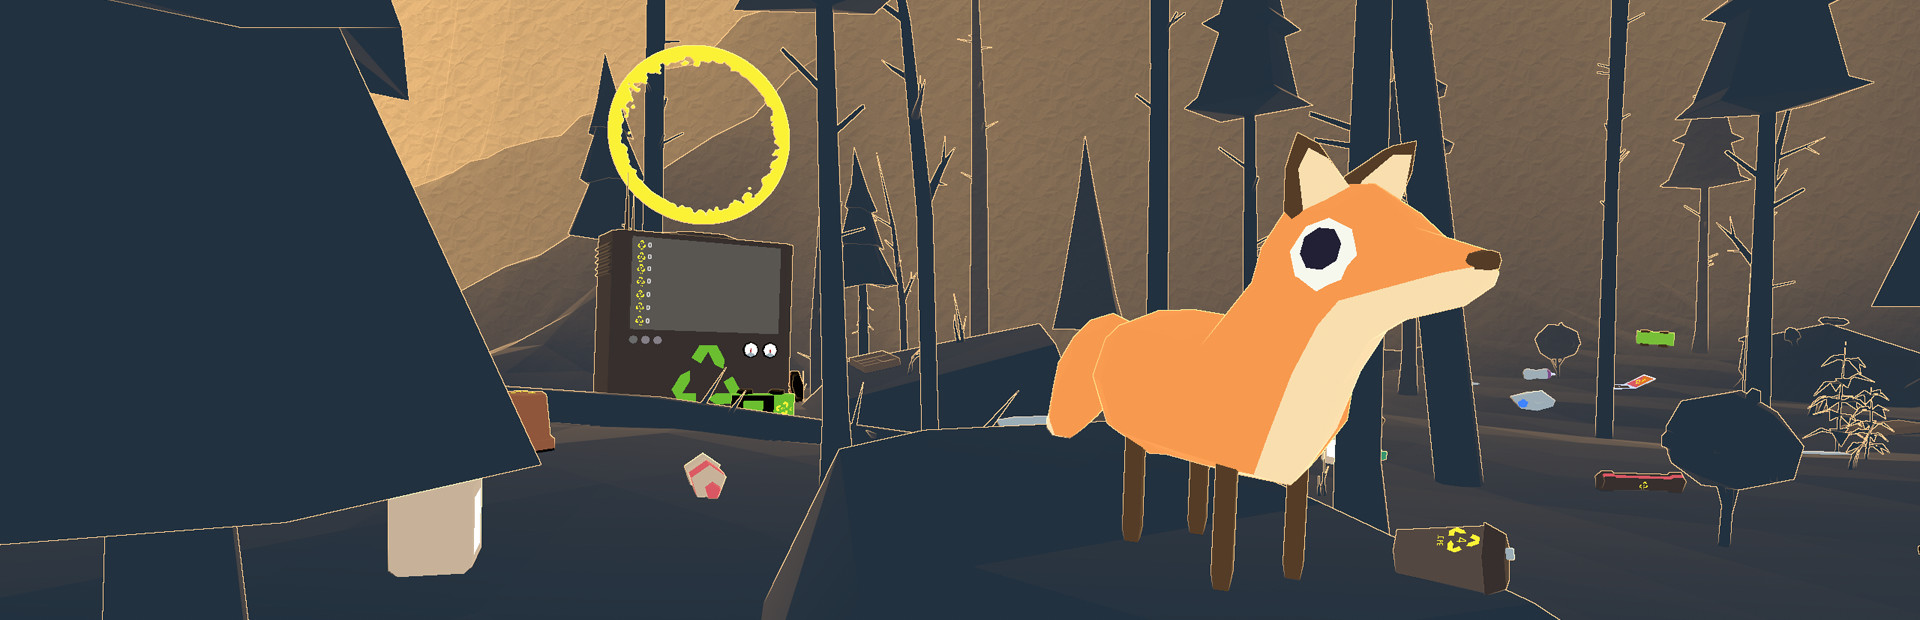
Many people have asked me how I achieved this style of graphics and after giving them a brief 2-3 lines of overly simplified explanation, I finally decided to write detailed article on how Side Effect rendering actually works under the hood.
Understanding this process requires some technical knowledge about rendering, just sayin'..
Dissecting a Frame
Let's talk about how the frame is rendered step by step. There are 3 features which play together:
Unlit geometry
Edge detection
Background fog
All objects are rendered using unlit shader (1) and then custom post processing effect is rendered on top (2 & 3), giving it the final look.
Lighting
First of all, Side Effect doesn't use any lights or shadows which means I can save some performance by not doing any lighting calculations. Toon shading also isn't part of rendering since that requires a light to be present.
This means every object in the frame is rendered as a opaque or alpha clipped geometry using unlit shader. Here is how the unlit frame looks like before post processing:
After this step a custom post processing effect is executed which combines unlit frame, edge detection and distance based fog together.
Background Texture
If you look reeally close you will see that orange background fog has some faint texture overlaid on top of it. This is because a simple orange color looked too boring to me so I added this texture overlay to make it more alive, here it is:
This texture needs to be tileable (seamless) so that it can be repeated indefinitely. Now I can decrease intensity of its darker parts using power function and tint it orange like his:
float4 b = pow(OVERLAY_TEX, 0.4) * _OrangeColor;
Remember this "b" variable we will need it later. Last step is to tile this texture across entire screen which looks like this:
Depth Texture
Since every opaque / alpha clipped geometry writes depth data into a depth buffer, I can retrieve this information using a depth texture from the main camera. Here is how the depth texture looks like, darker the pixel is the closer it is to the camera and vice versa:
Looks pretty foggy already doesn't it? I will use this fog gradient later. So why is this depth texture necessary you ask?
Edge Detection
To draw edges around objects I use depth based Roberts Cross operator. Instead of feeding it frame buffer color data I feed it camera's depth texture to calculate outline around objects. I've set its settings so that even slightest change in depth results in faint color gradient.
This may seem like there is fresnel (rim light) effect added as well while in reality it's just depth based edge detection on its own. You can see this in action especially well on the right side where path goes downward. Here is how frame looks like after edge detection is calculated on it:
If I now take this edge detected texture, tint it orange and add that result on top of the original frame,
float4 a = ORIGINAL_FRAME + edge * _OrangeColor;
this is what I get:
This image just showcases how would it looked like before fog was added.
Final Image
Still remember that "b" variable? Let's combine it with "a" variable (really creative names I know) from before to get the final image:
float4 final = lerp(a, b, FOG_FACTOR);
This final formula linearly interpolates from "a" to
Source
Changelog.gg summarizes and formats this update. How we read updates.