In this update6
Full notes
Full Verdun update
Read the full published notes in a cleaner layout. The original post stays linked below.
Repeated intro
Hello everyone!
What changed
- Store
- Maps
- Server
- Gameplay
Verdun changes
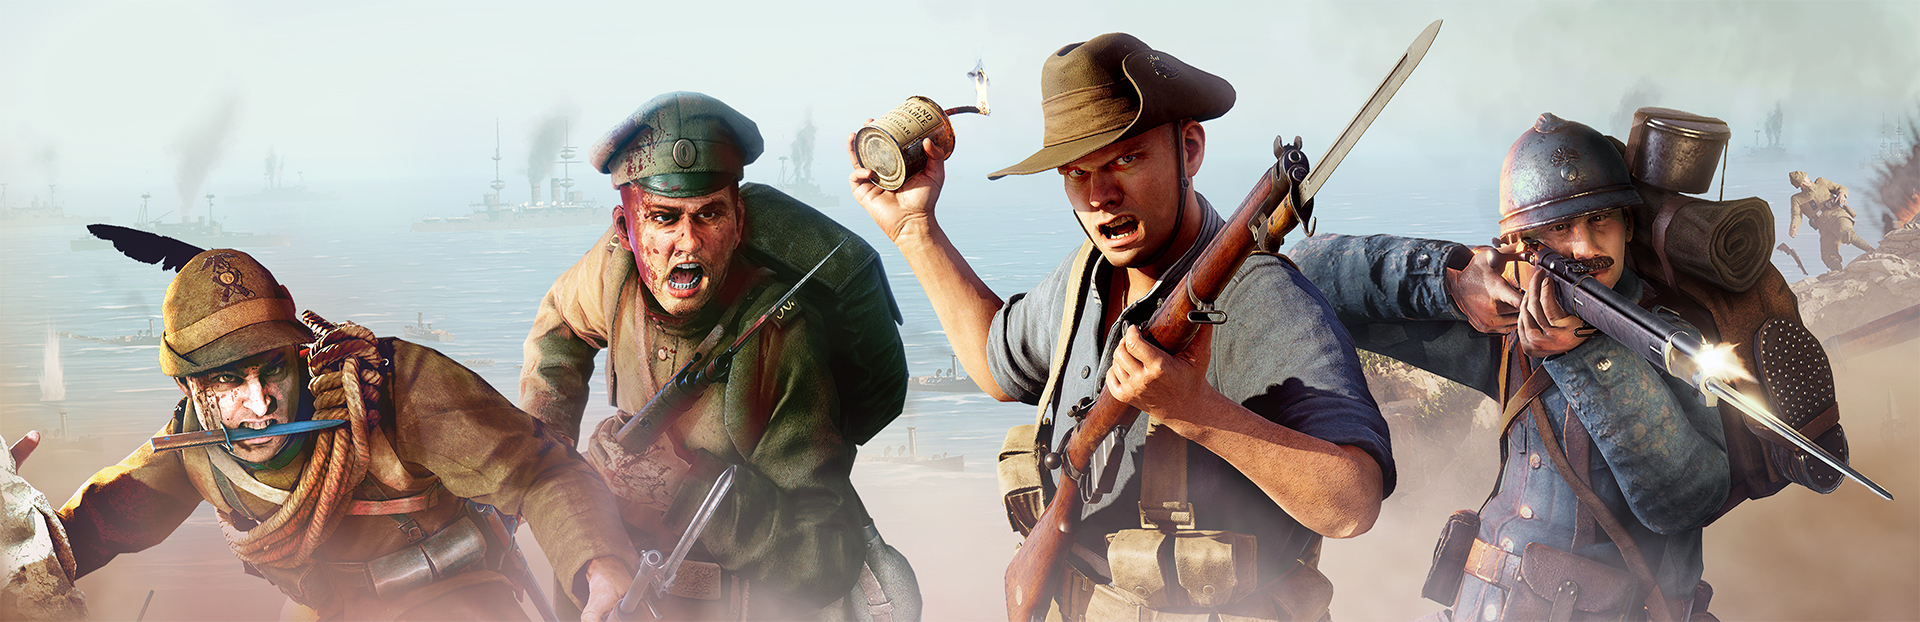
Today is a very exciting day, as we have a brand new trailer in store for you. This brand new look at Gallipoli focuses on the Siege of Kut, where the Ottomans attacked the British Army holed up in the town of Kut Al Amara in lower Mesopotamia.
The Siege of Kut
The Indian Expeditionary Force (IEF) captured the Mesopotamian town of Kut al-Amara in September 1915. Situated in a horseshoe bend of the River Tigris it provided a base of operations for the British to consider a further advance towards Baghdad. However, after a defeat by Ottoman defenders at Ctesiphon in November of the same year, Major General Charles Townshend’s 6th (Poona) Division retreated back to Kut, where the Ottomans laid siege.
Aerial view of Kut Al Amara, IWM (Q 107237)
The British built trench lines out across the horseshoe and incorporated an old fortification - what the British referred to as the ‘Mud Fort’ - into their defensive lines. The Ottomans, commanded by Khalil Pasha, made numerous attacks on the outer defenses but could not break through. With the town besieged - and enough rations for around 60 days - the only hope for the British was for a relief force to be dispatched from Basra to break through the Ottoman lines. In order to accelerate this intervention, Townshend misrepresented his supply stores in messages back to Basra, claiming he had less food than he did. As a result, an ill-prepared British force was defeated by the Ottomans at El Hanna.
Charles Townshend and Khalil Pasha after the surrender of Kut, IWM (Q 79344)
With no prospect of relief, the supply situation became desperate and some defenders began to eat the animals within Kut. Townshend attempted to negotiate with Enver Pasha - then Minister for War - but he refused any terms. Townshend then surrendered the town after 147 days of siege and was taken to Constantinople. However, his army underwent a series of forced marches to prisoner of war camps where an estimated 70% of the British-Indian rank and file soldiers died during their captivity. The Siege of Kut was one of the worst defeats for the Entente of the entire war.
Kut Al Amara in Gallipoli
Kut is a map of two halves. The battle starts out of town in a no man's land of a scorching desert, dominated by the sun and heavy shelling. The other half transitions into full-on urban combat, with alleyways and doorways allowing threats to pop up from around every corner. However, let’s go back to the start of the battle and follow the Ottoman approach.
As the Ottomans begin their charge across the open dunes, their first obstacle is the lovingly nicknamed ‘Mud Fort’ and the fortified redoubt connected to its trench network, both of which make up Sector 1. It has been softened up by prior shelling already, but the British will still be able to put up a fight here; they have cover, the Ottomans have not.
Once past the fort, more opportunities for cover arise. On the left, along the river Tigris, you can ditch the sand and opt for mud instead. As the region’s lifeline, the Tigris allows for vegetation in the shape of palm trees to grow, providing you with some much needed cover to mask your approach to the objective. On the right side, the frontal assault option won’t be as punishing as before. The terrain here has a lot more trenches and prominent dunes, leading you to the kilns that mark the other objective of this sector.
Pushing past the palms & kilns, we dive into Kut proper. Entry into the town is divided into a left and a right approach by a large central building, with some sneakier options in the middle. Once beyond this building, we’re a short jog away from the objectives of Sector 3: the historical British Headquarters on the left and the Mosque on the right. Don’t get too comfortable though, as some of the rooftops are accessible and offer prime ambush opportunities. If you don’t see the enemy in front of you, you may need to look up!
As we approach Sector 4, the final sector, a perpendicular road opens up a whole lot of options. You can pick from any of 5 lanes that will take you through or past the Bazaar (or Souq) straight to the final objective, but all will bring chaos. The streets are cluttered, there are fires all over the place and the British have dug themselves in for their last stand. Some doors take you to the adjacent lanes, others are a dead end, while others still allow you to hide to reload or ambush a foe.
The long sightlines are a prime opportunity for machine gun fire, but if you manage to break through, you’ll find the final Headquarters in the warehouse at the docks of Kut.
The Arsenal
Martini-Henry Mk.IV
The Martini-Henry is a breech-loading lever action rifle from 1871. As it was replaced by the Lee-Metford, all existing Martini-Henry variants were converted to .45 calibre to limit the amount of different calibres in service, creating the Martini-Henry Mk.IV.
Even though the Lee-Metford had also already been replaced by the Lee-Enfield by WW1, the Martini-Henry Mk.IV saw service during the war, as reserves of the newer rifles started to run out – especially on the Ottoman Fronts.
Peabody-Martini M1874
As the Ottoman Empire was unable to purchase Martini-Henry rifles from the British, they bought rifles identical to the Martini Henry Mk.I from the United States. The main difference between the weapons was the lack of barrel rifling that gave the Martini-Henry the ‘Henry’ part of its name. Instead, it took the name of the Peabody action both rifles have.
Much like the Martini-Henry, the Peabody-Martini was already replaced long before WW1. However, it continued to play a role in Ottoman culture as the every man’s rifle, appearing in tales of outlaws and folk heroes like Hekimoğlu. During WW1, it reappeared on the battlefield as the Ottomans started to run out of Mauser rifles.
Hotchkiss Portative Mk.I
As we’ve established, much of Kut Al Amara provides great opportunities to dig in behind some sandbags or a low wall with a machine gun in hand. So let’s take a look at one of the options for the British Empire!
The Hotchkiss Portative is an Austrian design sold to Hotchkiss in 1893. It was improved upon by the American manager of the manufacturer and saw limited production by Springfield and Colt. Production officially began in the Hotchkiss factory in Paris, but the factory was moved to Lyon when the Germans threatened the city. The following year, Hotchkiss was invited to set up a factory in the UK, where 40,000 units were made. Quite the journey.
That’s everything for today! We hope you enjoyed the new look at the game and are excited for Kut Al Amara. If you haven’t already, add Gallipoli to your wishlist! It really helps us out by giving us more opportunities to spread the word about the new game.
We have some exciting collaborations coming up soon as well as some substantial news next month. See you soon!
Source
Changelog.gg summarizes and formats this update. How we read updates.